Complete Guide to Filling Tile Gaps with Tile Adhesive for Long-Lasting Results
 11 Sept 2026
 Share
Share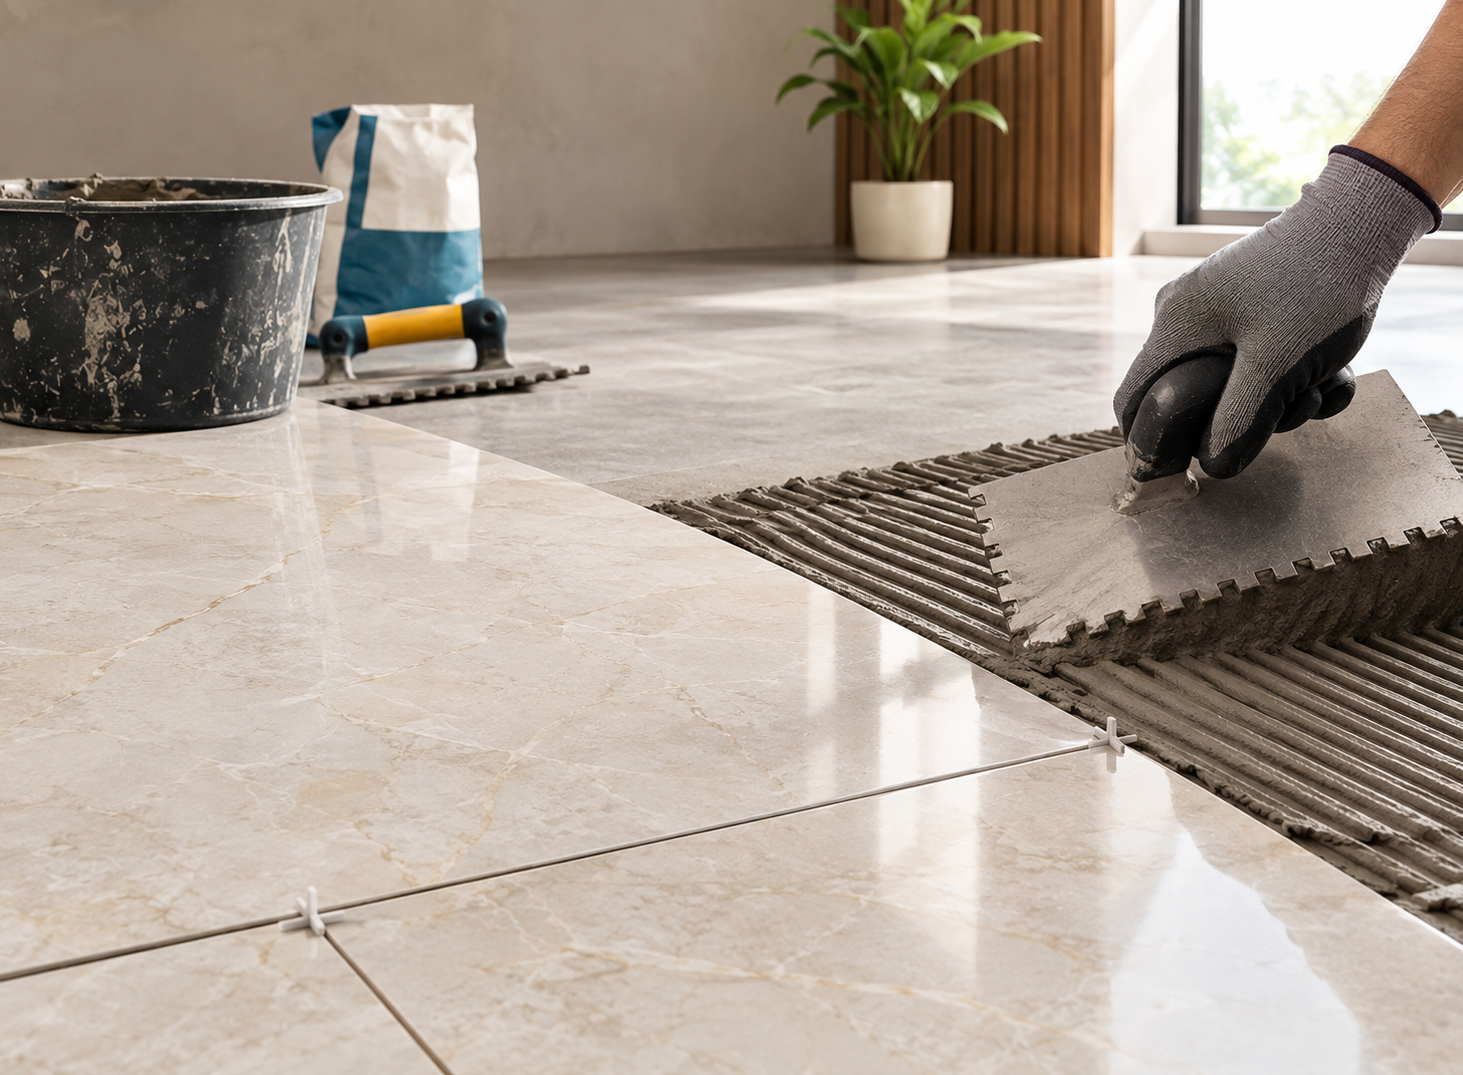
In the context of home improvement, nothing is perfect, not even the tiles. The spaces between tiles, if not properly filled, may become a breeding ground for moisture and dirt. However, this problem can be solved by filling the gaps with grout. The process of filling gaps between tiles is referred to as grouting. While tile adhesive is primarily used to fix tiles securely to walls and floors, grout or tile joint filler is generally used to fill the spaces between already-installed tiles. Understanding the difference between these materials can help anyone who is looking to achieve a stronger and more durable tile finish.
What Is the Best Way to Fill Gaps Between Tiles?
The most effective way to fill tile joints is to use a suitable grout or joint filler rather than using tile adhesive as a substitute. Grouting creates a finished surface while tile adhesive helps prevent moisture from entering the gaps.
If you are wondering how to fill gaps between tiles, follow these basic steps:
- Clean the tile joints thoroughly and remove dust, debris and loose material.
- Choose a grout suitable for your tile type and application.
- Prepare the grout according to the manufacturer's instructions.
- Press the grout firmly into the joints using a grout float.
- Remove excess grout from the tile surface.
- Allow it to cure for the recommended period before cleaning and sealing, if required.
Properly filled joints can improve the appearance of tiled surfaces while helping protect the underlying structure from moisture-related damage.
Why Is It Important to Fill Gaps Between Tiles?
Tile gaps are not simply a design feature. They allow tiles to accommodate minor movement and, when properly filled, help create a more stable and hygienic surface.
There are several reasons to fill tile joints:
- Prevents moisture seepage: Proper grouting helps reduce water penetration into the substrate.
- Reduces mould and mildew: Sealed joints leave fewer spaces for moisture and dirt to accumulate.
- Improves durability: Filled joints help keep tiles stable and reduce the risk of movement.
- Creates a finished appearance: Grout provides clean, defined lines between individual tiles.
- Makes cleaning easier: Properly finished joints are easier to maintain than exposed gaps.
These benefits are particularly important in moisture-prone areas such as kitchens and bathrooms.
Can Tile Adhesive Be Used to Fill Tile Gaps?
No, tile adhesive and grout serve different purposes. Tile Adhesive is designed to bond tiles to a suitable surface, whereas grout is formulated to fill the joints between tiles.
Tile adhesive should be selected according to the type of tile and installation surface. For example, different formulations may be recommended for ceramic, vitrified, exterior or bathroom applications. Once the tiles have been fixed, an appropriate grout or joint filler should be used to complete the spaces between them.
Which Type of Grout Should You Choose?
The right grout depends on the width of the joint, tile material and location of the installation.
- Cementitious Grout
Cementitious grout is a traditional option available in sanded and unsanded varieties. Sanded grout is generally suitable for wider joints, while unsanded grout can be used for narrower joints and delicate surfaces.
- Epoxy Grout
Epoxy grout is known for its durability, stain resistance and water resistance. It can be particularly useful in areas exposed to moisture or heavy use, although you should always check the manufacturer's recommendations for the intended application.
If you are looking for the best waterproof tile gap filler, an epoxy-based grout is worth considering for suitable applications because of its water-resistant properties.
How Do You Apply Grout to Tile Gaps?
Once you have selected the appropriate grout, application is an important part of achieving a long-lasting finish.
Step 1: Prepare the Surface
Make sure the tiles and joints are clean, dry and free from dust, grease and loose particles. If necessary, use a mild cleaning solution and allow the surface to dry completely.
Step 2: Prepare the Grout
Mix the grout according to the manufacturer's specified ratio. Avoid adding excess water, as an incorrect consistency can affect the final result.
Step 3: Apply the Grout
Use a suitable grout float to press the material diagonally across the tile joints. Work in manageable sections and ensure that the gaps are properly filled.
Step 4: Remove Excess Grout
Once the grout has set slightly, carefully remove excess material from the tile surface with a damp sponge. Rinse the sponge regularly to avoid spreading grout residue across the tiles.
Step 5: Allow It to Cure
Allow the grout to dry and cure according to the manufacturer's instructions. Some applications may also benefit from a grout sealer after curing to provide additional protection against stains and moisture.
What Are Common Mistakes to Avoid When Filling Tile Gaps?
A few simple mistakes can affect the appearance and durability of your tiled surface. Avoid:
- Applying grout over dirty or damp joints.
- Using an unsuitable grout for the tile or joint width.
- Adding too much water while mixing.
- Leaving excess grout on the tile surface for too long.
- Disturbing the grout before it has adequately cured.
- Using tile adhesive as a replacement for grout.
Similarly, when installing new tiles, proper surface preparation and the correct Tile Adhesive application are important. Home Pride recommends using a clean, level surface, mixing the adhesive to a smooth consistency and applying it with a notched trowel to create even ridges.
How Can You Choose the Right Tile Products?
Choosing the right products is easier when you consider the tile material, joint width, installation area and expected exposure to moisture. If you are planning a renovation, you can compare suitable products through an online tile store, while checking the manufacturer's specifications for adhesive and grout compatibility.
For tile installation, use an adhesive specifically suited to the tile and surface. For joints, select a grout or tile grout filler designed for the required application.
What Is the Best Tile Gap Filler?
The best tile gap filler depends on the tile type, joint width, location and level of moisture exposure. Cementitious grout can be suitable for many conventional applications, while epoxy grout may be preferable where greater water and stain resistance is required. Always follow the product manufacturer's instructions rather than choosing a filler based solely on appearance or price.
Filling tile gaps correctly is an important part of achieving a clean, durable and moisture-resistant tiled surface. While tile Adhesive provides the bond between the tile and substrate, grout or tile grout filler completes the joints between tiles.
By choosing the right product, preparing the surface properly and following the correct application process, you can achieve a neat finish that lasts. When exploring and purchasing tiles online, always check the manufacturer's instructions for the specific adhesive or grout you are using to ensure the best possible results.